Welcome to my $100 Back Porch Makeover!
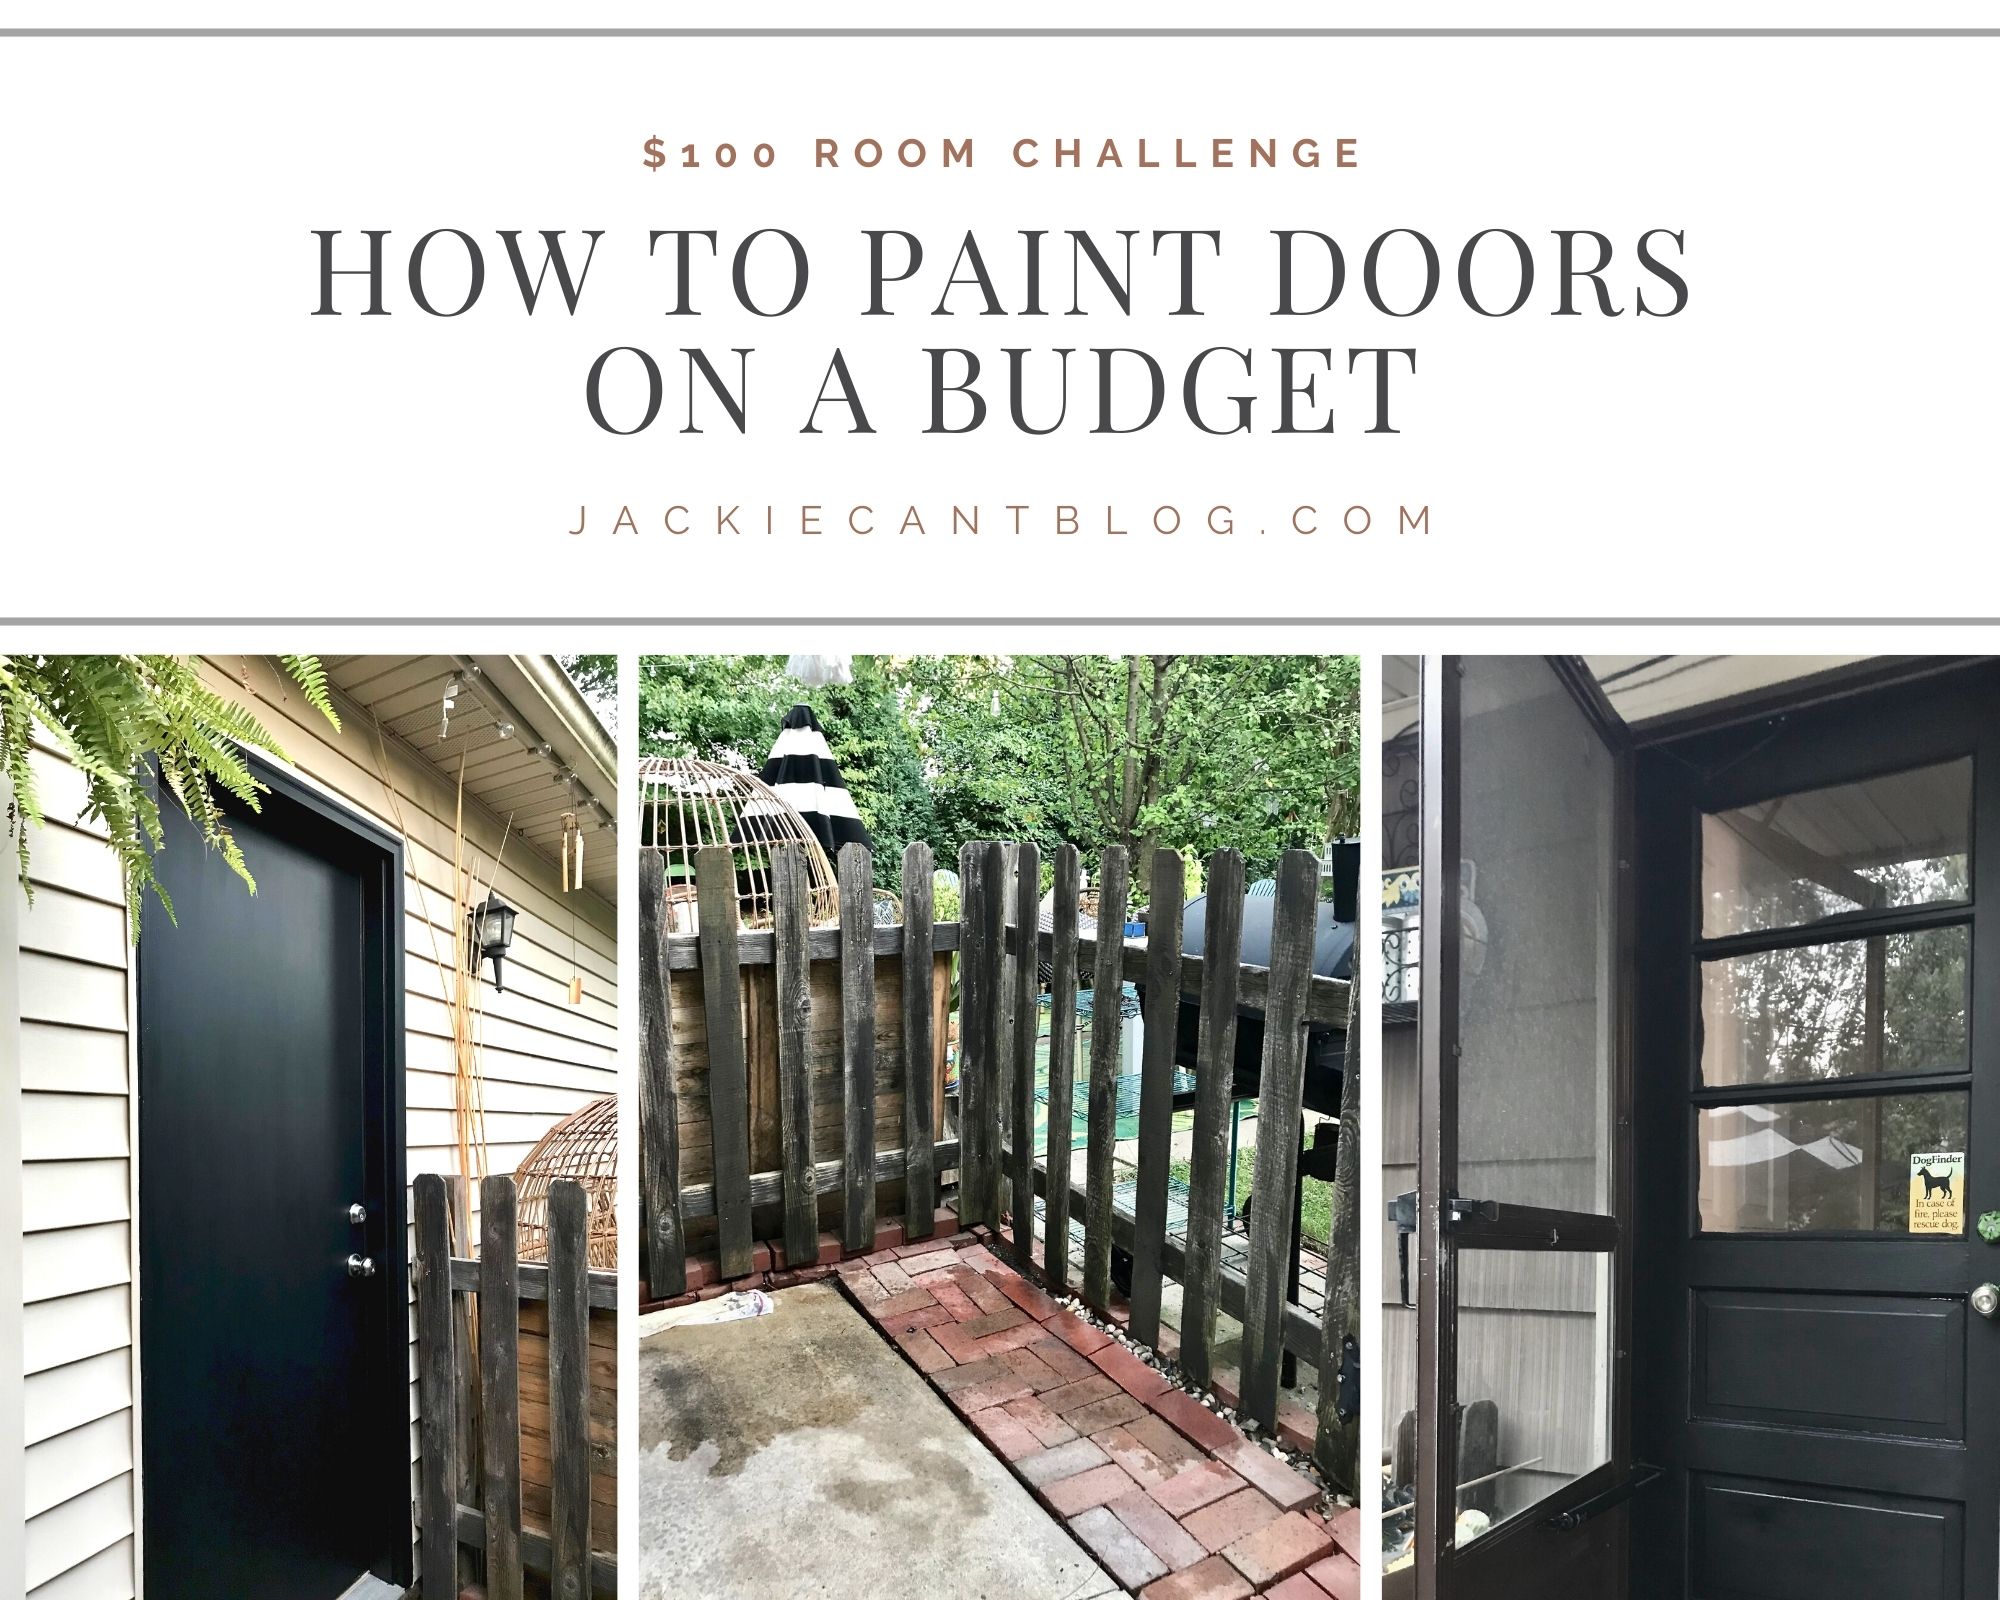
In this week’s episode, I will share How to Paint Doors on a Budget

We’re at the halfway mark for the $100 Room Challenge. Week Three brings around a few fun and satisfying projects. But the project that made the most impact is where I share How to Paint Doors on a Budget
Need to catch up? Check out my other posts in this series:
Just how far can a half a can of paint go?
OR
How to Paint Doors on a Budget

I love to paint. I’m pretty sure that I say this every time I paint a room, or any project really. I just love paint! It is the easiest and most affordable way to transform anything. Oh, how I love the smell. I love that it comes in any color you can think of. Need to paint quickly? I love to use spray paint. Have a small piece of furniture to paint? I love to brush on the paint. And of course, I want to roll that paint on a wall. I love all the finishes too- gloss, satin, and my current favorite- flat. I love to paint 😉
Needless to say, I have a large stash of paint in the garage (and the basement, and maybe in the front closet too). This quart of Krylon Color Maxx Flat Black Paint is my new favorite paint to use. The color is a standard premixed Flat Black paint right off the shelf. I had gotten this can of paint around a month ago to paint our front door. The paint is thick and covers amazingly smooth and easy. The quart size sells for $9.98, and I only used just under half the can for that project. So since the money was already spent…
Let’s see how far we can stretch that $9.98!
Garage Door- Beige to Black

One project on the list for this Back Porch Makeover is to paint this side entry door to the garage. The beige color was bland and dirty.
How to Paint Doors on a Budget-
To prep the door for painting I used these simple steps and supplies I already had on hand:
- scrubbed it clean with a TSP cleaner and warm water
- Don’t have TSP? Use any heavy-duty cleaner you already have on hand. You want your project really clean before painting.
- let it dry completely in the sunshine
- a quick sanding with sandpaper to scuff the beige finish
- I like to use sanding blocks from the dollar store for quick projects like this one. But you could also use whatever sandpaper you have on hand.
- wipe away dust with a clean damp rag
- You can use a tack cloth to wipe away dust. But I am too cheap to buy any- so I used an old white towel and wet it with warm water to clean away the dust from sanding.
- tape off the edges of the trim, and door handle
- I love the Green Frog Tape and always have a couple of rolls around for projects. This is the one item I will pay a little more for.
Then two coats of Flat Black paint later- and we have that gorgeous door you see on the right. I just love how it turned out! It is always so amazing to me how a paint color change can make a world of difference.
Back Door- Dirty to Delightful

For the Back Porch Door, I followed the same steps to take this door from old and worn to clean and modern. Using the same Flat Black paint I also painted the door jamb and the step. So much better, don’t you think?
What other projects did we complete?
Fill in dead space with Bricks

When we left off last week- I was still diggin’ in the dirt trying to get this spot ready for paver sand and bricks. Well- it took a little longer than I wanted but here we are. It’s not perfect but I think it looks pretty good!
We moved to our rental house 6 years ago and there was a huge stack of red bricks left behind the garage. Then two summers ago we got 3oo+ more bricks when a neighbor ripped them out of their yard and put them for Free by the street. I didn’t know at the time what we would use them for. But slowly over the years, we have added almost all of the bricks to different spaces in the around the yard that have needed some hardscape. Our only investment has been time and hard work.
But this project is not done yet- Now I just need to brush paver sand in the spaces between the bricks. And I want to get a bag of river rocks to fill that gap under the fence. Then it will look intentional and complete.
A bag of paver sand will cost me- $3.98 and the river rocks- $5.48. Less than $10?- totally worth it!
Replace Broken Fence boards

This project was not in the original plan for our Back Porch Makeover, but boy did it need to happen! We had three old fence pickets that were cracked and needed to be replaced. I was able to find some new Pressure Treated Pine Boards for just $1.72 each. Using our drill and steel screws from the stash in the garage- this was a super quick and easy project.
That Blond Wood stood way out!

Having the new pickets on the fence was great, but the blond pine color really stood out. Back to the stash in the garage- where I found an old can of outdoor deck stain that I had bought for $1 at a thrift store quite a while ago. I had about a third of the can of stain left- so I tested it to see if it was going to work with the old fence boards dark gray color. I think that it matches alright.
Dark Gray Stain for the Win!

Since I knew that the new pine boards would soak up most of the stain- I stained those three boards first. Both the fronts and the backs. Then once they were done- to make them blend in a little better with the old boards- I dry brushed a small amount of stain on each old board to darken it up just a little bit.
All I can say is wow! I think it looks fantastic! And all for under $6 for the three new pine boards!
How to Paint Doors on a Budget

We still have a long way to go to get this Back Porch Makeover to where I want it to be. But I think we made some real headway showing you How To Paint Doors on a Budget
Make sure to check out all the other $100 Room Challenge projects below

Black doors are one of my favorites… they always look so clean and crisp. Awesome job!
OH Wow! I love black doors and the fencing looks even more beautiful in black. You are rocking this challenge.
I have to say I love a black door, just the song says- I see a red door and I want to paint it black! I miss my black door from my previous home it made everything pop that hung on it.
The black paint made a huge difference!
I am a huge fan of black doors and am slowly painting all of my interior doors black. Looking gooood!!
This space is coming together so beautifully. Love the black door! And replacing those 3 fence posts will make that space feel so much better (and you did a great job getting the new posts to blend with the old).
Wow Jackie! I LOVE the black doors, they make such an impact now! I actually have plans to paint my front door black too, its such a great color!
Such an informative article! I agreed that at first, we should use a tack cloth to get better finishing for flawless results. By using tack cloth you can easily remove small dust and dirt particles from the surface. Your blog is very well written and all the information provided by you is really very helpful. Thank you for sharing! Keep Posting!