Hi There.
I have been having a hard time lately finding the motivation to work here on the blog. I love doing it, but it is a lot of hard work. Many of the aspects I am not comfortable with, Photography, writing, and all things web related. Please be patient with me as I struggle my way through. Because I believe that I could have something…

In our cute little MCM rental home, we have this small built-in in the Dining room. I believe that when the house was built, this was open to the Front door on the other side of the wall. At some point it had been closed up, when or why I don’t know.

It’s not a very deep built in, but it is a fun spot to decorate for the seasons. It is painted white, which is a great neutral background for displays.
But what if you’re looking to change it up a bit? And you’re renting? What do you do?

At T.J.Maxx I found this awesome wrapping paper. It has a super cool Birch bark print on it. It is very real looking, and so pretty. They had three rolls, but now I have three rolls! At $2.99 a roll I had to buy them all. The struggle is real 🙂

It is a nice thick paper, with a matte finish. Which I like to decorate with, so it is not so obvious that you are using wrapping paper.

My tools for this job? Scissors and blue tape. I also used a tape measure, which is not pictured here. Simple tools anyone could use.

I measured each shelf back wall section, height and width. I cut pieces to fit, and did a dry fitting to be sure they were the right size. I like to do a dry fitting first, so I can make any adjustments that might be needed.

Then I simply rolled up some small pieces of blue tape. I used blue painters tape, so that there will not be any damage when I take this paper down.

Here is a close up of the bottom shelf. The Birch bark on the paper looks so real! I love it!

The top shelf also looks super cool, I love it.

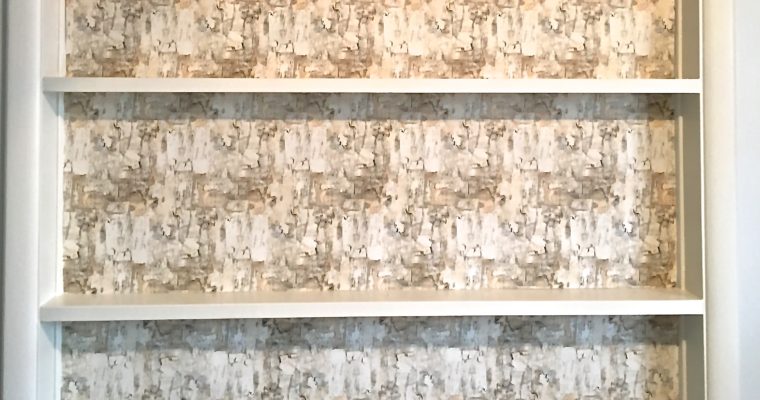
Here is a better look at the middle shelf with the blue tape rolls. Randomly placed pieces along all the edges and the middle.

Here is Built in complete with the Birch paper on all of the shelf backs.

Took me a little under an hour to do this fun project. Little time, Big impact.

I really love how it turned out. It was quick and easy. I believe that anyone could take on a project like this. Maybe using wrapping paper to back a bookcase or china cabinet?
The Birch paper is so pretty, and I still have 2 and 1/2 rolls left to play with. I am so happy that I found it!
Next time I will show you how I decorated in front of the pretty Birch paper.
Thanks for stopping by! I appreciate your support as I get this blogging thing going!
-Jackie