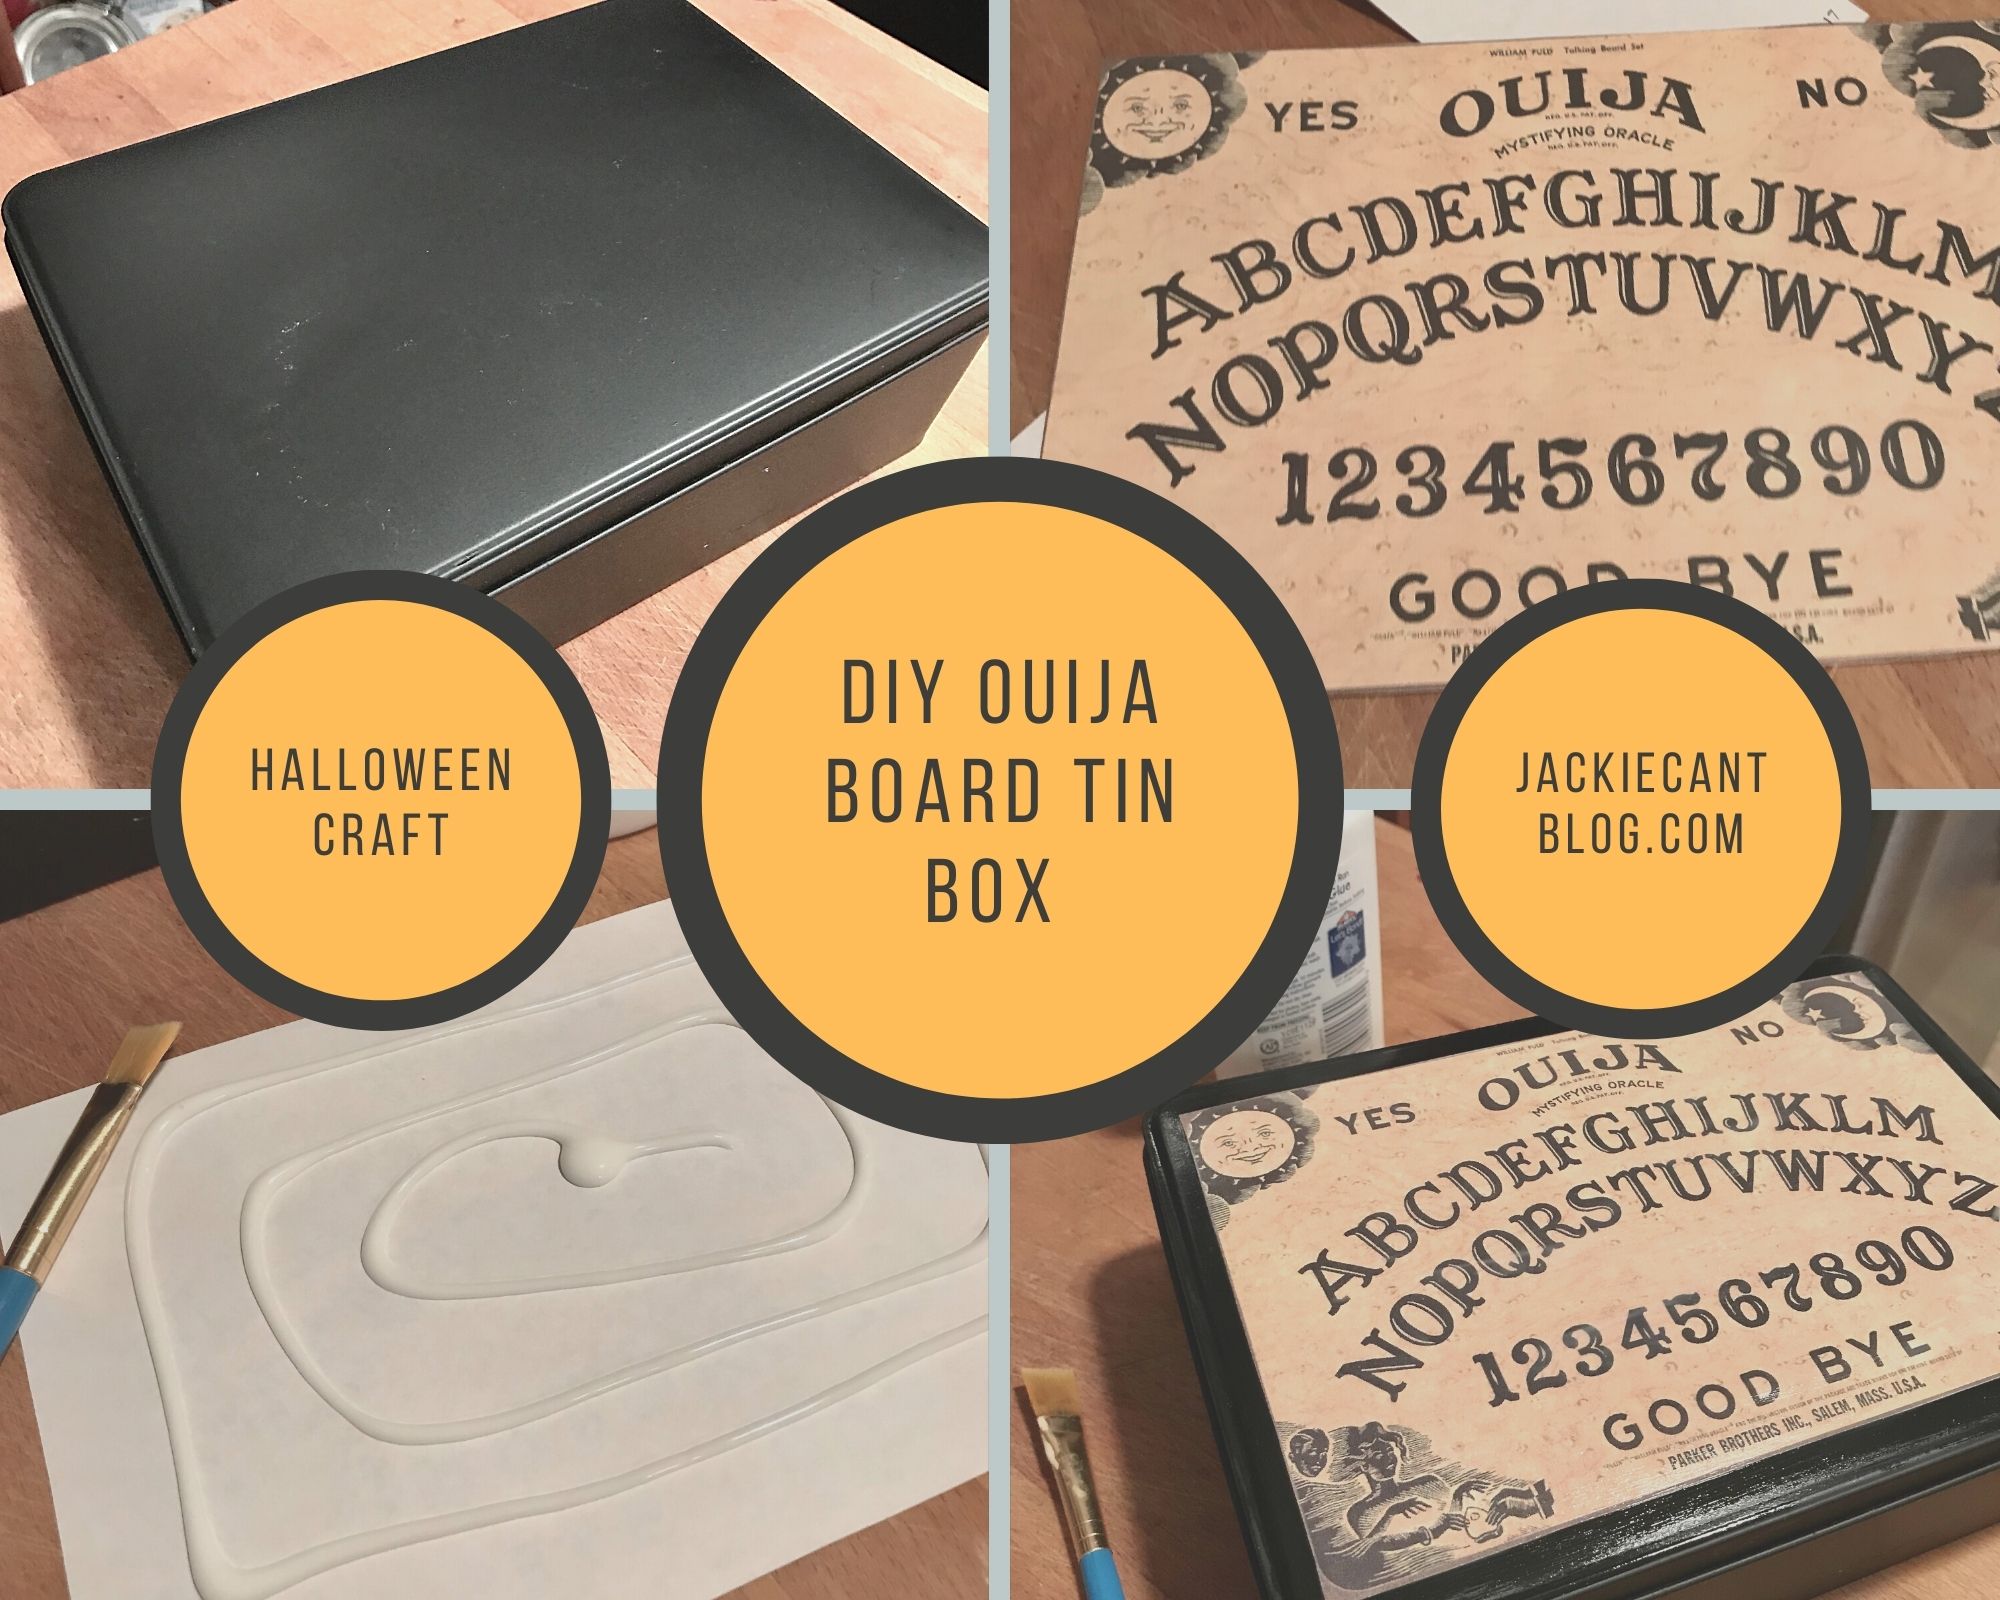
A quick and easy craft that you can do too!
Halloween Craft- DIY Ouija Board Tin Box

Halloween is just a few days away, but don’t stress! I have a quick and easy Halloween craft that you can do too! A DIY Ouija Board Tin Box
Here are the few supplies that you will need to make your very own Ouija Board Tin Box. Some of which you may already have in your home.
- Old tin box– mine was an old candy tin box. But you could use whatever you have on hand- even a shoebox will work. Use what you got!
- Black Spray Paint– I used flat black paint, but you could use whatever finish of paint that you would prefer. A new can of paint is less than $7
- Computer, home printer, and paper– to print out the image for our project. Nothing fancy here, again use what you have at home
- White glue or Mod Podge– to adhere your image to the tin box
- Scissors, and craft brush
Choose your tin box and paint it

Spending money on new seasonal decor every year or season can be costly. That is something that I want to keep to a minimum. But I knew I wanted a couple of more items to decorate with so I went to the stash to see what we could upcycle and reinvent to make some easy DIY Halloween decor. I found this old candy tin box that I had spray painted flat black.
Pro Crafter Tip– If you do a lot of crafts like me- keep a cardboard box handy to put items that you want to spray paint a solid base color. In my box, you can find old tins, bottles, jars, vases, plastic ornaments- anything that I like the shape of but maybe not the color or pattern that it currently is in. When I break out the spray paint I can grab the box and paint everything all at once. Then the items will be all ready to go when it’s their turn to come up to be crafted and upcycled.
Find an image to put on your tin box

Using my home computer I went to Google images where I found an Ouija Board image that I really liked. It was a free image that I downloaded and then printed out on regular old printer paper. Easy-peasy!
Don’t like Ouija? That’s okay! Use whatever image you do like. A skull, a crow, a witch, or anything else that strikes your Halloween fancy!
Cut out the Ouija Board image

Now, this is a small thing- but I had to decide how I was going to cut out the Ouija Board image. Did I want to leave a small white border around the image? Or did I want to cut as close to the image as possible?
I ended up cutting close so that the Ouija Board image would blend in with the black of the tin box. But you can do whatever you like and feels right to you! That’s the fun of crafting- it’s all your creation!
Get out your glue on

Using regular white glue I put a generous amount on the back. I spread it out to evenly cover with a craft brush. I used white glue because that was what I had, but you can always use Mod Podge as well. It’s just crafting- you can’t go wrong!
Place image on tin box lid

Then just place your glued image on the top of the tin box. Be sure to smooth out any bubbles, and glue down the edges to seal down the image.
Now your DIY Ouija Board is complete!

Well that’s it! A quick and easy Halloween Craft that you can do too!
Now it is time to style your new DIY Ouija Board Tin box in your home. You could use it on a shelf as a back gound piece or lay flat on a table. No matter how you use it, you made it and it is there to enjoy!
Pin for later

If you make a DIY Ouija board Tin Box of your own- I would love to see it!
You can connect with me in the comments below!

