During this time to stay at home, I have been making crafts like crazy!
Time, didn’t we all wish we had more time?

While staying at home I have been using my time to try crafts that have been on my to-do list. I think that I am like many crafters who buy supplies for projects and sometimes don’t get around to make them. Well, today I am going to share a simple Drip Paint Pots that anyone can make! I had all of the supplies already here at home and maybe you do too!
All you need is paint and pots

The basic supplies for this craft are paint in as many colors as you chose, and terra-cotta pots. I have a pretty big craft paint supply stash, and my terra-cotta pots came in two packs from the Dollar Tree*.
***I am not suggesting that you go out to the stores to buy your supplies for this or any craft during this stay at home time. Please stay home and safe!***
Flip the pot and pour on the paint

This Drip Paint Pots craft is so simple and fun too! You could do this craft with the kids and have such a great time.
Let me break down these simple steps for you just in case:
- Gather craft paints- in any colors of your choosing. I used Gray, White, and Black craft paints.
- Collect terra-cotta pots- new from your favorite store or upcycle old pots that you may already have on hand.
- Prepare your workspace- I put cardboard on the kitchen floor and placed some wax paper down for the pots to sit on
- Flip the pots upside down- the sides of the pots have a natural slope- this will help the paint drip down.
- Pour the craft paints on the bottom of the pots- You want to pour enough of each paint to make the paint drip down the side of the pot.
- Watch the paint drip down the pots- you may need to add more paint here and there to get full coverage.
- Once the paint has fully dripped down to the bottom- remove the pot from the pool of excess paint.
- Let the paint dry completely– my pots took about 24 hours to cure.
Easy as 1,2,3- then enjoy!

This craft only took about 15 minutes to complete. The part that took the longest was making sure that the paint was giving the pot a full coverage. I didn’t want any of the red natural terra-cotta to show through. After the poured paint had dried- I went back and did touch-ups with a small craft brush.
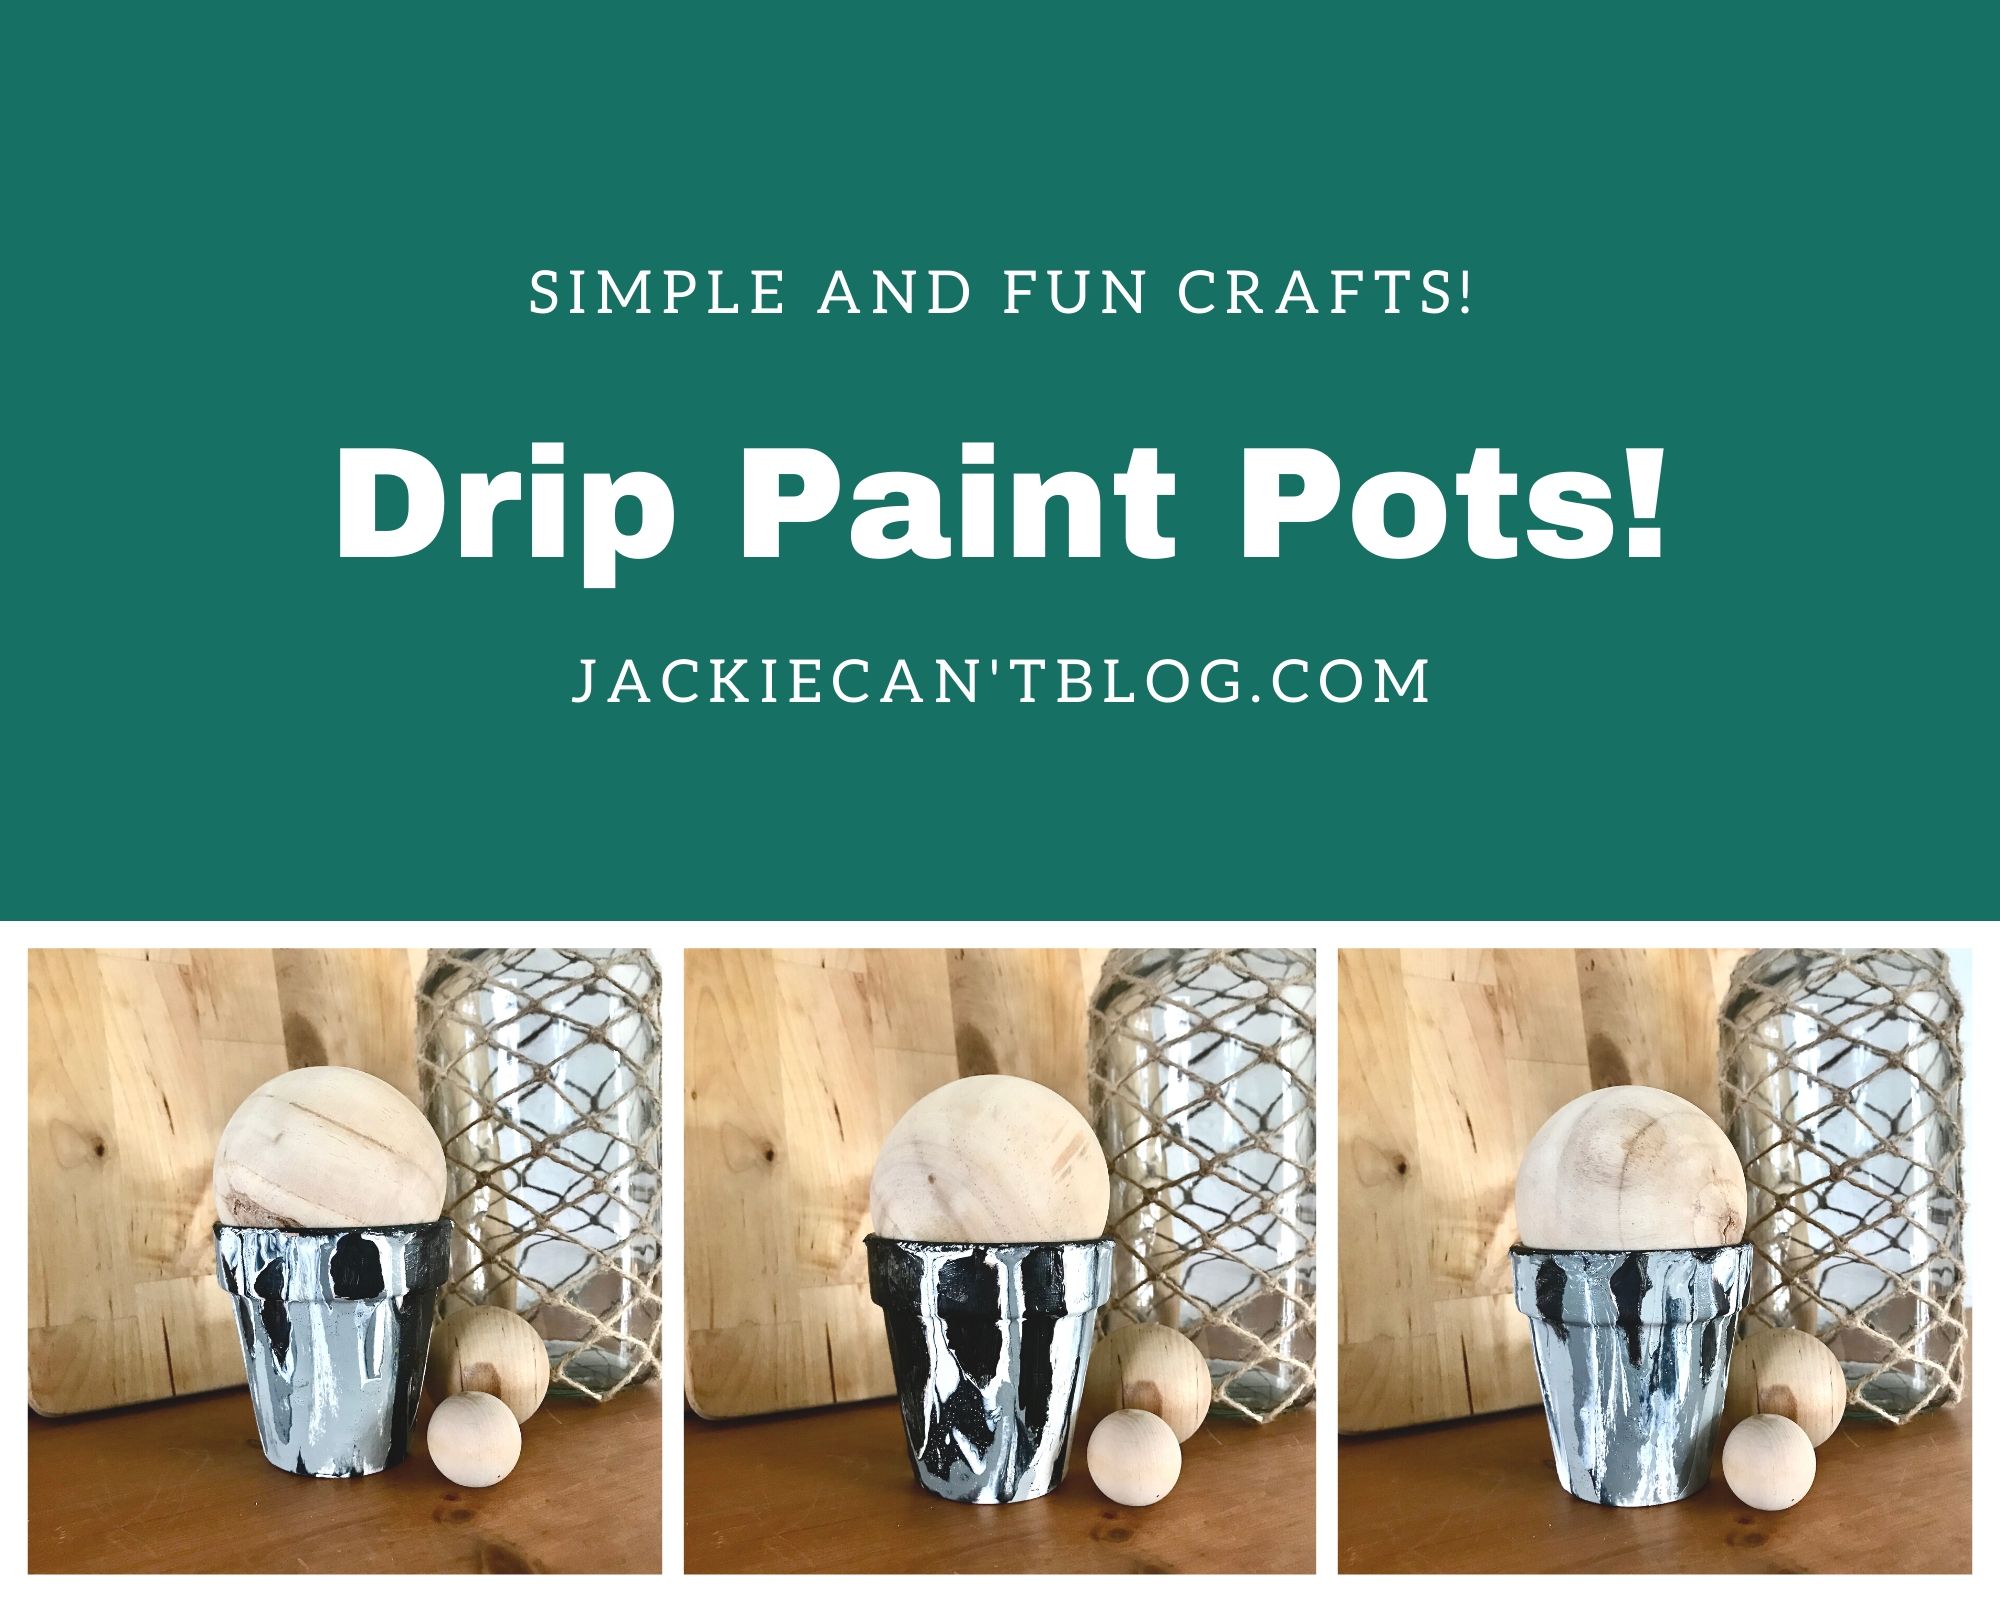
Gray, White and Black Drip Paint Pots

This was a simple and fun craft project to do during this stay at home time. It was super affordable craft too- paint I already had and $1 for a two-pack of 4″ pots.
Now I just need to decide where to use these pretty Drip Paint Pots!
Did you see my post on DIY Marble Terra-Cotta Pots? It’s another craft project that I have completed during this quarantine time. Check it out for more inspiration on affordable and stylish home decor- that you can do too!


These are beautiful!! And so easy!!