A crafty tray upcycle that anyone can do!

Hi there!
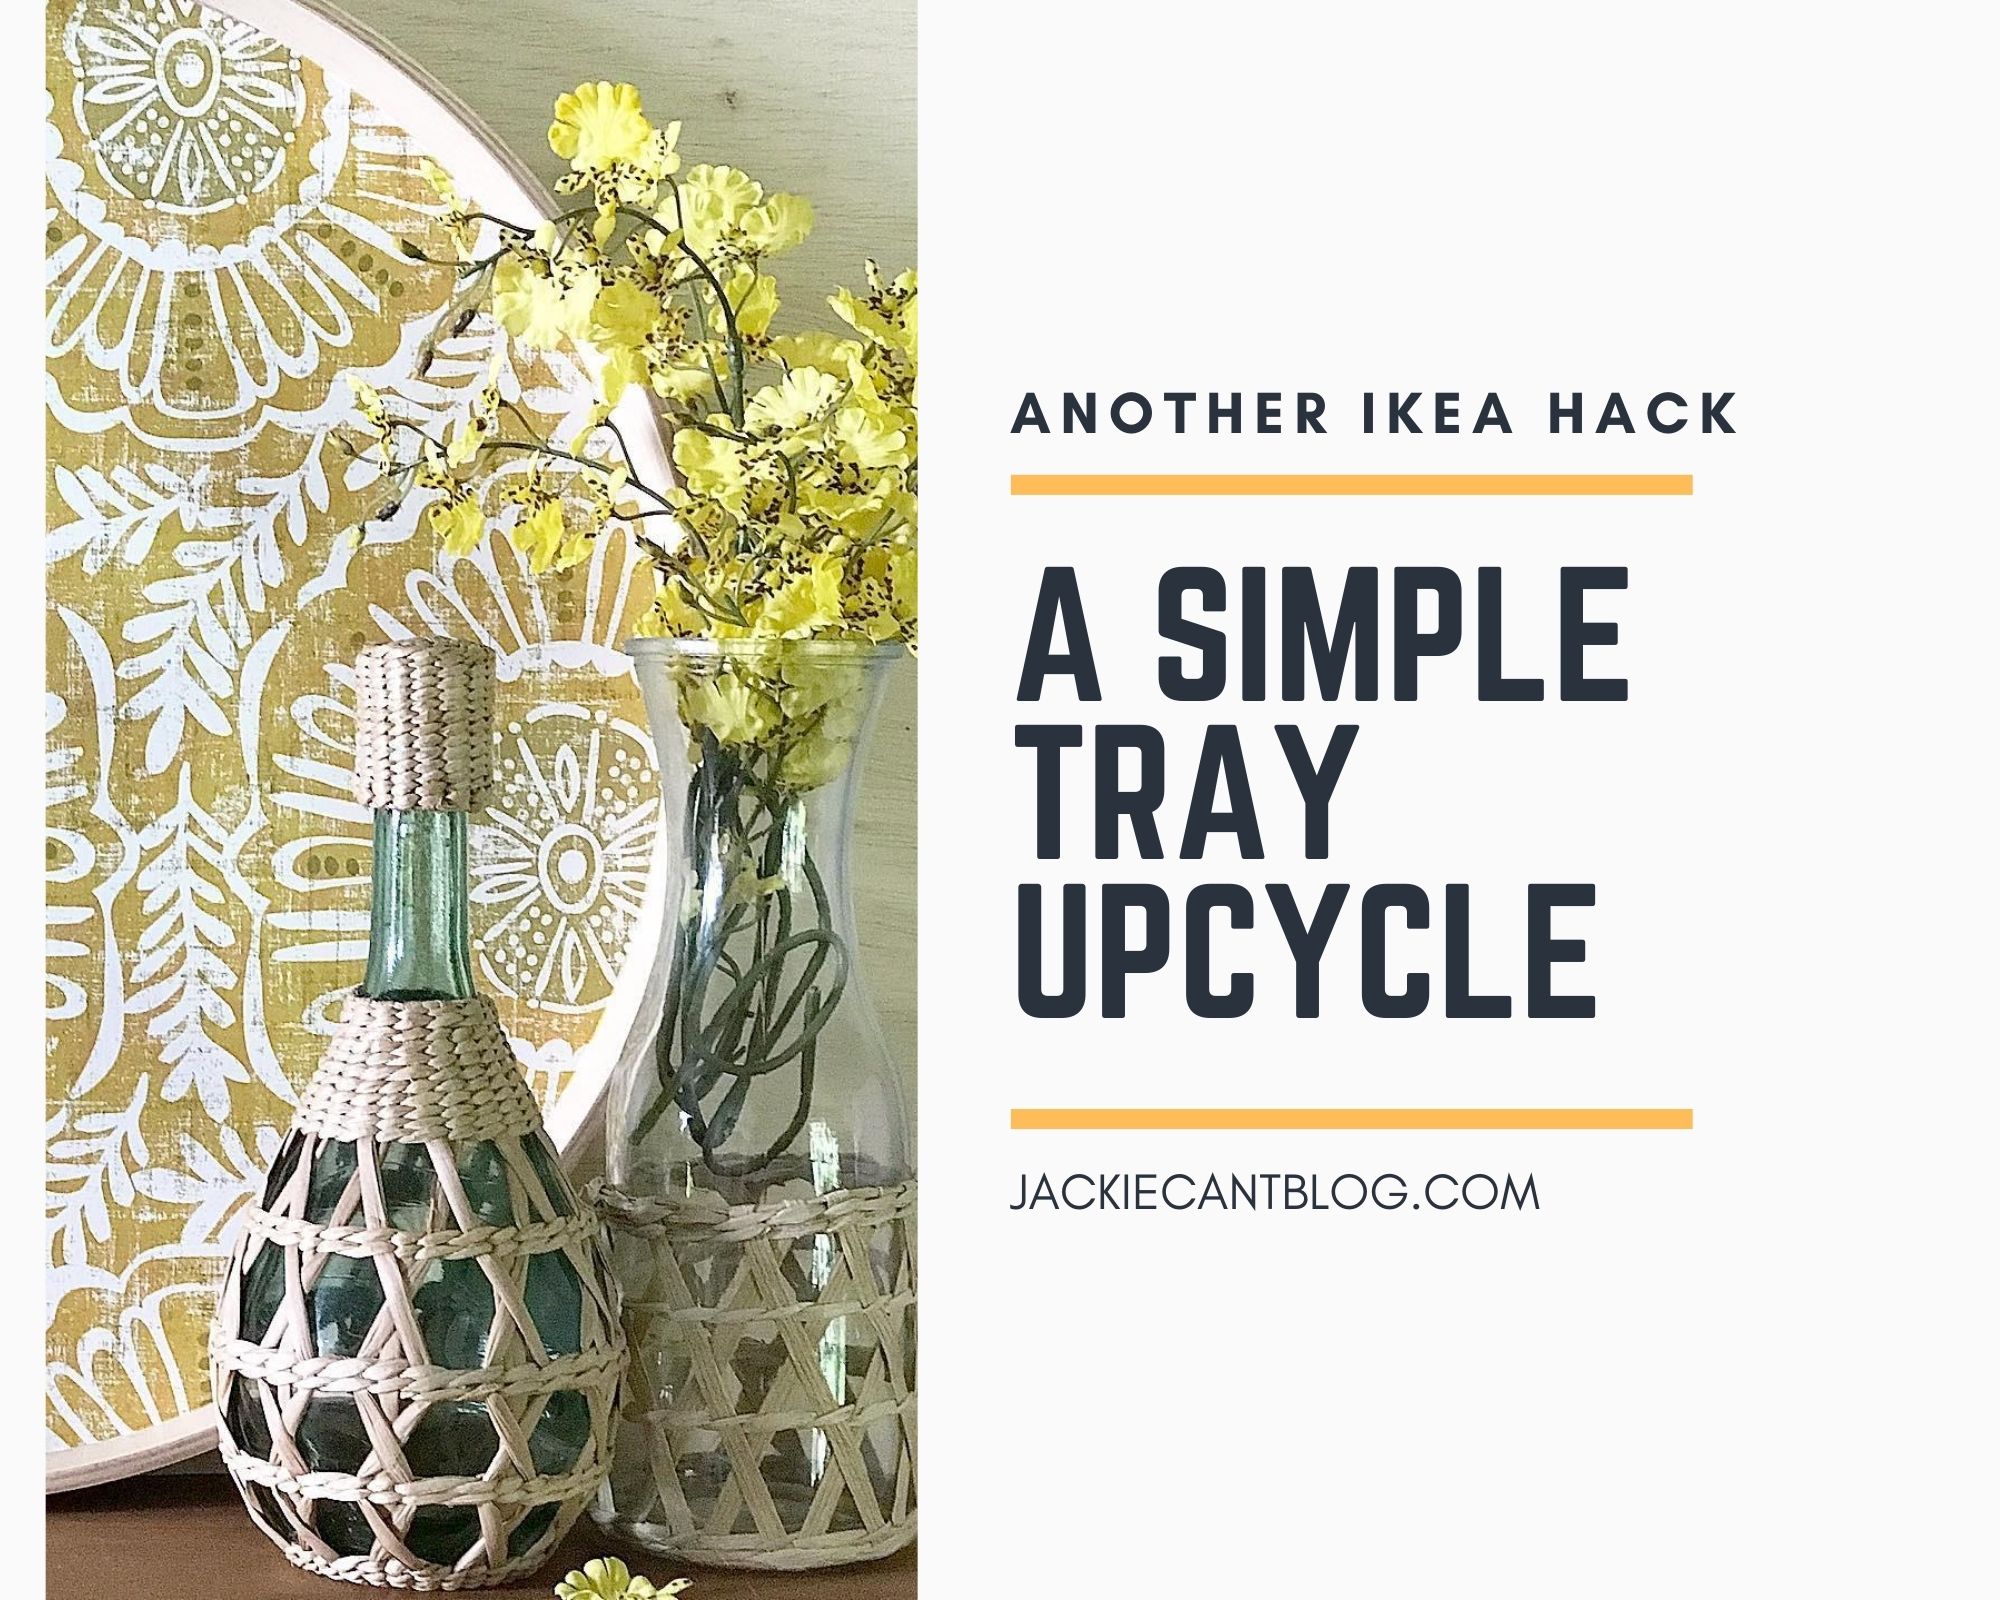
Have I got an easy upcycle project for you. A Simple Tray Upcycle. I’m going to show how I took an old damaged wood Ikea serving tray that I had. And upcycled it to a beautiful display piece using just removable wallpaper, a pencil, scissors, and a box cutter.
Let’s get our craft on!
Water damage- oh that’s not pretty

This large blond wood- maybe an ash or bamboo- tray was from Ikea a couple of years ago. I bought it while on clearance and I have just loved using it to display plants on. It is pretty large- 20 inches across. Since its that big, it can hold a couple of plants at a time. Or even just one large potted plant.

The wood was not sealed to handle any kind of spilled or standing water. I kind of kicked myself for not noticing the water damage sooner. Such a shame, the tray was so pretty. The damage could not be removed simply and was there even after a good cleaning. First I used an all-purpose cleaner, followed by a simple white vinegar and water solution that I made. Letting it dry thoroughly before starting this tray upcycle project.
Add beautiful Color and Pattern

I have been really drawn to this Mustard-Gold-Yellow color lately. I just love how it almost seems like a neutral in a room. When I saw this Opalhouse peel and stick removable wallpaper I knew I need it in my home! And this tray seemed like an easy project to use it on.
The Opalhouse Madre Medallion peel and stick wallpaper is a little pricey for a craft project at $34 a roll. But I plan on using it for other projects as well. For this tray upcycle project, I used less than 22″ of it- that leaves plenty leftover.
Trace, Place, and Cut

Using the bottom of the tray as a template- I traced around it with a pencil on the back of the wallpaper, then cut it out. My tray is a circle, but if you’re using a square or rectangle tray it would work the same. Trace it out and cut. Making sure to trace the outside of the wood. This made sure that the wallpaper was a little too big for the center of the tray. You need it a little big for the next step.
Next, I placed the wallpaper inside the center of the tray. Smoothing out the center and pushed the extra wallpaper up the sides.

I just used my hands and smoothed the paper the best that I could. Don’t worry about the extra wallpaper that is curling up the sides, you will be trimming that off.

Pull the wallpaper out from the tray and use the creased line as your new cut guide. Doing it this way I think you get a better fit of the paper once it’s cut. After you trim, place once more and do a dry fit inside the tray.
Just keep trimming, just keep trimming,

It took a couple of times to trim everything before I was happy with how the paper fit. I used the scissors first to take off the big pieces and the box cutter to trim the slivers. Once I was happy with the size and fit of the wallpaper it was time to attach it.
Peel, Stick, and Smooth

If you have ever put contact paper in a cupboard or a drawer- then you know how to work with peel and stick wallpaper. Start on one side and pull the paperback off the wallpaper about 2-4 inches. Attach the exposed sticky portion of the wallpaper to the tray and smooth. Be sure and get as many of the bubbles out as you can. Continue pulling the back off the paper and smoothing out the bubbles until the wallpaper piece is completely in place on the tray. Use a hard straight edge to help get any bubbles out- a plastic putty knife or a credit card work great! Check your edges more time and trim the wallpaper with a box cutter if necessary.
A lovely tray upcycle to display and use in your home.
I really love how quickly this upcycle project came together. The tray looks fantastic and I can continue to use and enjoy it in my home.
Do you have a wood tray that has seen better days? Or maybe one at the thrift store that needs some love and attention? May I suggest using some wallpaper to upcycle it and give it a new life!
Pin this for later!
A Simple Tray Upcycle

I hope that you enjoyed my post. And that I was able to give you some inspiration and confidence to take on a little upcycle project for yourself!
Want to see a couple more of my upcycled projects? Check out this post- Cheap Thrift Store Upcycles
