I am so excited to be participating in the $100 Room Challenge that is hosted by the lovely Erin from lemonslavendarandlaundry.com. In short, using only $100 in one month’s time to transform one room. A creative challenge as well as a budget challenge! I love it!

For this challenge, I have been working on redecorating our tiny Bathroom. Since we are renting our cute little house, there will not be any major projects to do. But with simple DIY and craft projects, and smart budget shopping I plan to change the look of our little Bathroom. All for $100 or less! Less, I hope.
Today’s project is the Window Curtains. Here is what the window has looked like in the past.


On the left, we have rental house mini blinds and ugly yellow beige walls. On the right homemade eyelet white curtains and freshly painted light gray walls. Each was fine, but we can do better than that!

For this project, I bought a sheer panel from Target and Pom-Pom trim. The panel was $4.99 and each package for the trim was $1. New curtains for $7.99, not bad. Now I just need to do a little work to transform them into what I have envisioned.
I think that first off I should let you know that I am a self-taught sewer. I have been sewing for more than 20 years, and I have learned all sorts of skills as I went along. I started with my own wedding dress and went on to many a Halloween costume, and later on costumed more than a couple of plays that my kids were in. But that is a story for another day. While I am not an expert in any way. I will try and give some tips that have helped me.

My first step was to cut the window panel down to size. The window in our tiny Bathroom is small, so the one window panel was more than enough to cut in half and hem to size. I just folded over the edges 1/2″ once, pressed with the iron. Then fold 1/2″ once more and press with the iron.
Tip #1- use scissors that are sharp and have only been used for fabric. My family thinks I’m crazy, but trust me! Have a pair marked only for fabric and they will give you nice clean cuts.
Tip #2- clean your Iron! Sounds a little odd, but make sure the surface is clean before you start. You don’t want to ruin a project before it has even really started.
Tip #3- don’t use pins with a sheer fabric like this one! I know, I know- how will the fabric stay? It just will! You’ve used an iron, and it stays pressed. I have found if I use pins they can sometimes pull the fabric and damage it.

I then sewed a straight line on all of the hems. Then went back and added the Pom-Pom trim. I went slow and steady. Holding the folds as they enter under the needle, and again holding the trim.
Tip #4- don’t cut your decorative trim first! I sewed the Pom-Pom trim down, then cut to size afterward. In the past, I have cut trim too short or too long and wasted some much-needed trim. This way, I always use just what I need.

Here they are finished and hung on the window curtain rings. I just love curtain rings! I feel like they are a small detail that adds so much!

Okay, confession time. I’m not sure that I like the curtains now that they’re finished and hung up. 🙁

I chose the sheer panel to hack for these curtains because I wanted more light to come through. With the old eyelet cotton curtains, it could still be a bit dark. And with how many cloudy days that we get in Michigan, I wanted more light! But now the sheer fabric with the pom-poms- they kind of remind me of a nightie! Do you see it?

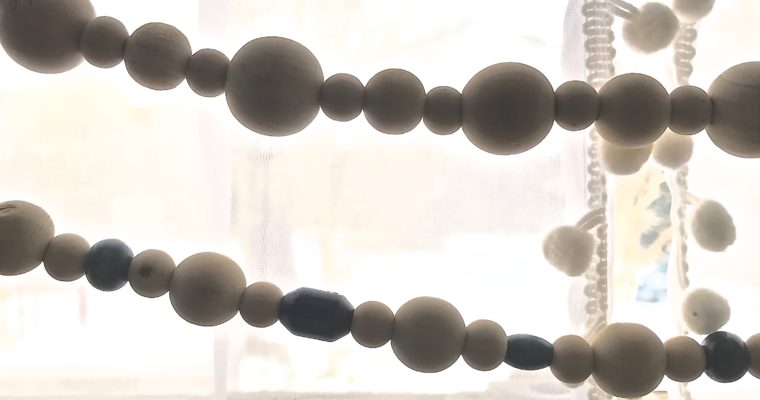
Not sure if this is a decor fail, not just yet. I have added a couple of wood beaded garland for now. And that does cuts the boudoir vibe down a bit. But I think I have to finish the room and live with the curtains for a while before I decide if I will change them.
